初期買了 Yubikey 只有單純用來做 OTP,2FA 的認證,後來想到應該是可以透過 Yubikey 進行金鑰登入
後來網路上確實有人這樣進行,所以就趕快拿自己的 Yubikey 來測試看看
Info
- Terminal: iterm2 / zsh / oh-my-zsh
- Hardware Secure Key: YubiKey 5 NFC
Require
先安裝一些 Yubikey 的相關套件,還有 GPGTools
- libyubikey
- yubikey-personalization
- yubico-yubikey-manager
- yubico-yubikey-personalization-gui
- gpgtools
1
2
3
4
|
brew install libyubikey
brew install yubikey-personalization
brew install yubico-yubikey-manager
brew install yubico-yubikey-personalization-gui
|
創建金鑰
安裝好上面的工具之後,將 Yubikey 插入 Macbook 開始進行操作
改變 Yubikey 模式
Yubico Blog - common modes 參照資訊
- -m0 HID (OTP) mode
- -m1 CCID (OpenPGP only – no OTP) – warning – you cannot use ykpersonalize after this setting!
- -m2 HID & CCID Only (OTP & OpenPGP)
- -m82 HID & CCID (OTP and OpenPGP) EJECT Flag set – allows SmartCard and OTP concurrently.
改變 Yubikey PIN
依照 如何在 Mac 上,把 YubiKey 與 GPG、SSH 搭配在一起 進行設定,將 user, unblock, admin PIN 進行更改
 1
 2
 3
 4
 5
 6
 7
 8
 9
10
11
12
13
14
15
16
17
18
19
20
21
22
23
|
# 透過 gpg 進行卡片設定模式
$ gpg --card-edit
...資訊
Version: 3.4
Manufacturer: Yubico
...資訊

# 切換 admin 權限
gpg/card> admin
Admin commands are allowed

# 改變 PIN
# Yubico 預設 PIN
# user - 12456
# unlock - 123456
# admin - 12345678
gpg/card> passwd

1 - change PIN
2 - unblock PIN
3 - change Admin PIN
4 - set the Reset Code
Q - quit
|
透過 Yubikey 產生金鑰
 1
 2
 3
 4
 5
 6
 7
 8
 9
10
11
12
13
14
15
16
17
18
19
20
21
22
23
24
25
26
27
28
29
30
31
|
$ gpg --card-edit
gpg/card> admin

# 產生金鑰
gpg/card> generate
# 是否備份在硬體金鑰外
Make off-card backup of encryption key? (Y/n) n

# 依照一下規則進行設定,這邊設定 2y (兩年)
0 = key does not expire
         <n>  = key expires in n days
         <n>w = key expires in n weeks
         <n>m = key expires in n months
         <n>y = key expires in n years
Key is valid for? (0) 2y

# 輸入資訊 真實性明,信箱, 備註
Real name: cody chen
Email address: cody@example.com
Comment: test

# 等待金鑰產生,會等一兩分鐘...

# 完成就離開
Change (N)ame, (C)omment, (E)mail or (O)kay/(Q)uit? O

# 稍候需要用 short ID 匯出 pub key
...<省略>
pub  rsa2048/<short ID> 2020-10-20 cody chen <cody@example.com>
sec>  rsa2048/<short ID>  created: 2020-10-20  expires: 2022-10-20
...<省略>
|
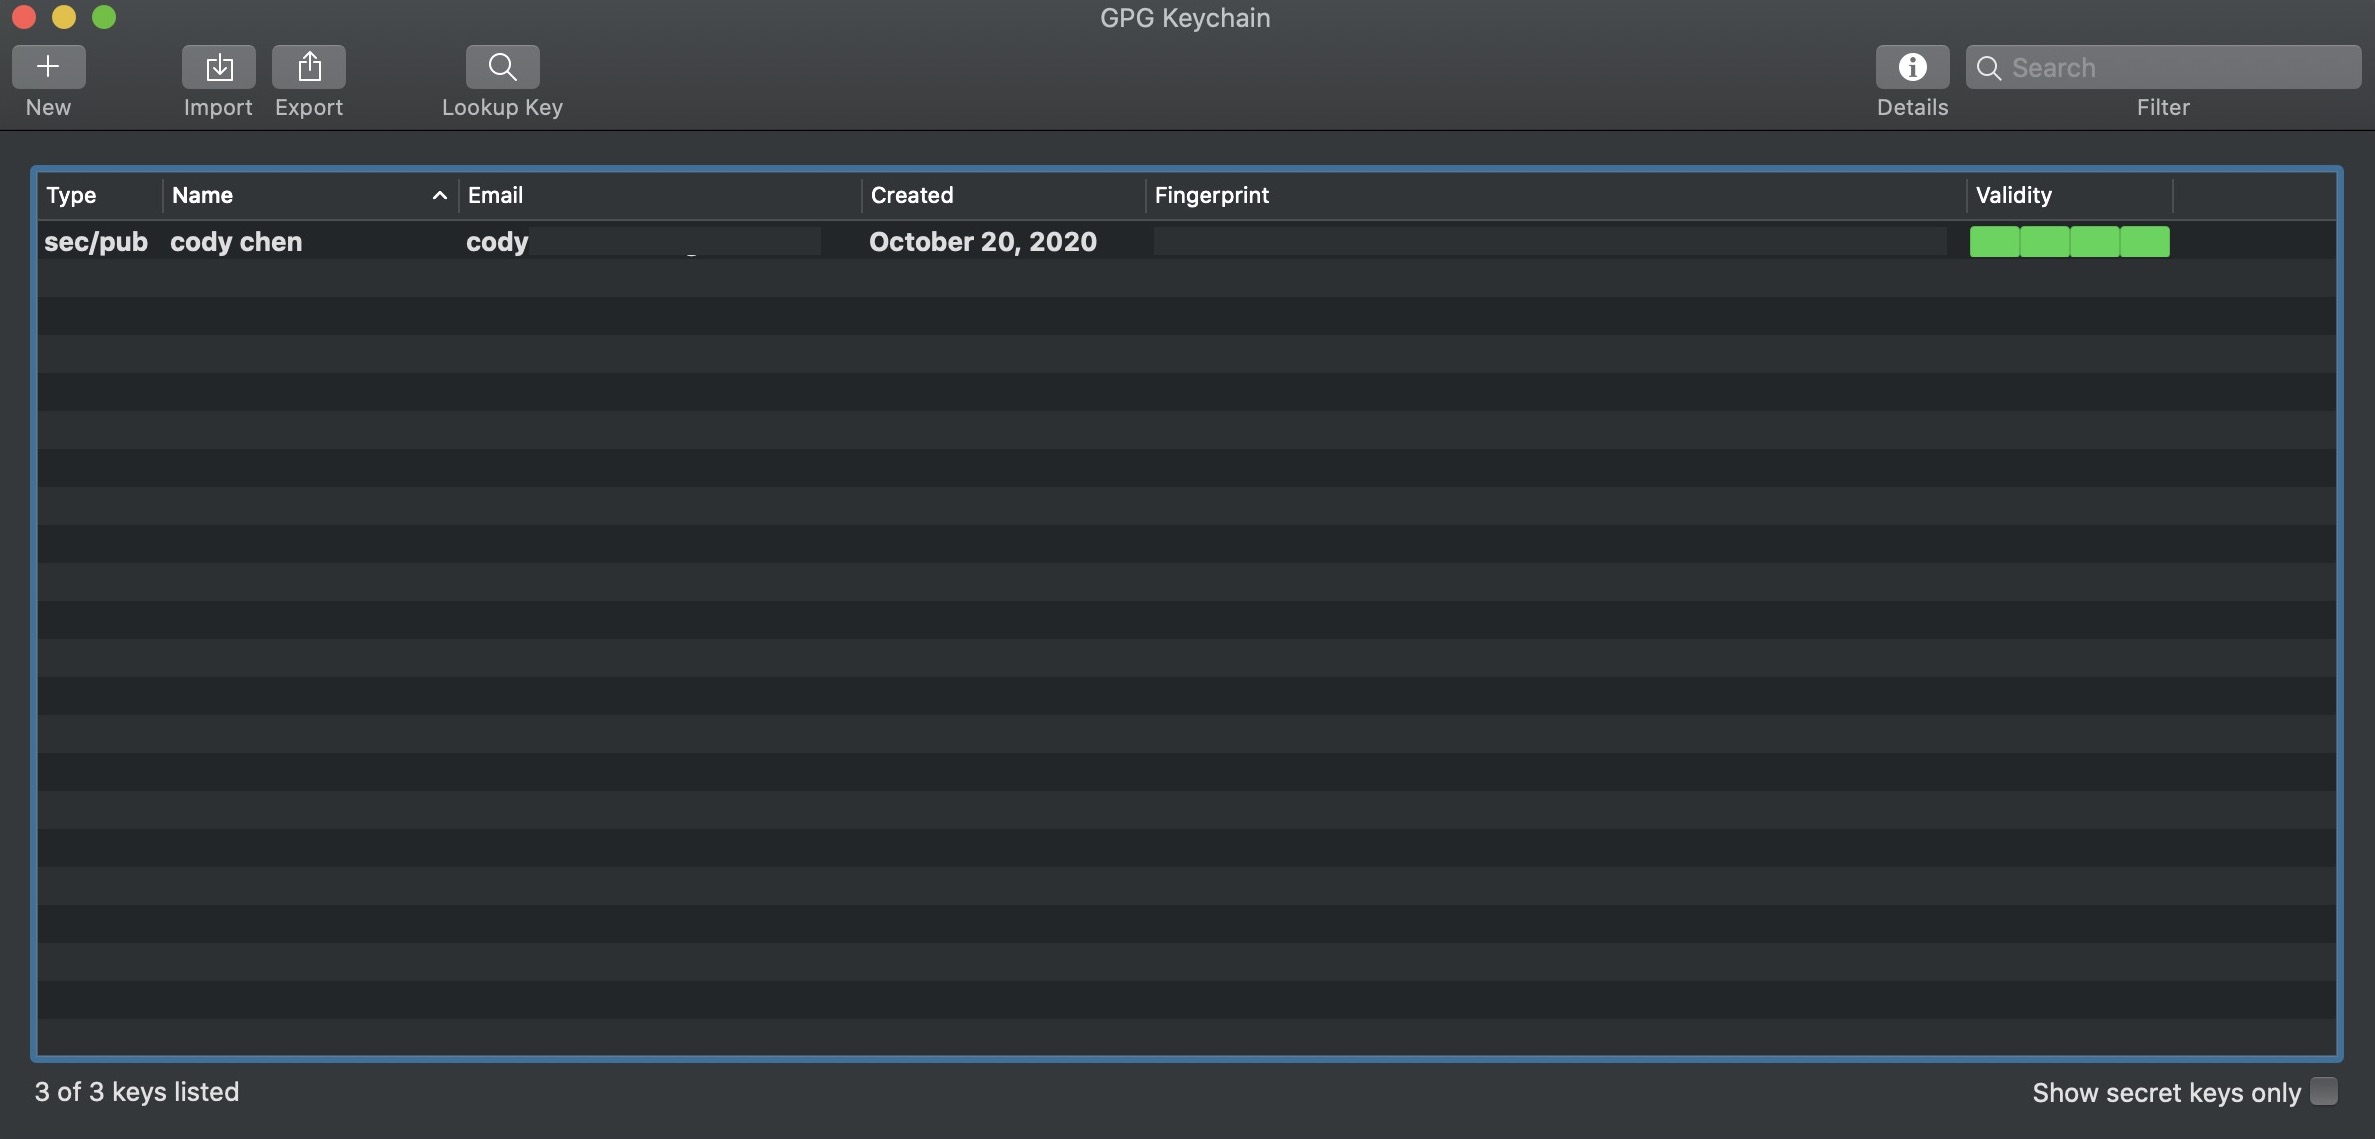
開啟 GPG Keychain
應該會看到剛剛透過 yubikey 建立好的金鑰,可以依照自己的需求
- Generate Revoke Certificate… (建立撤銷金鑰)
- Send public key to Keyserver (傳送公鑰至 Keyserver)
設定 GPG Agent
設定 ~/.gnupg/gpg-agent.conf
 1
 2
 3
 4
 5
 6
 7
 8
 9
10
11
|
$ vim ~/.gnupg/gpg-agent.conf

# 寫入以下設定
pinentry-program /usr/local/MacGPG2/libexec/pinentry-mac.app/Contents/MacOS/pinentry-mac
enable-ssh-support
write-env-file
use-standard-socket
default-cache-ttl 600
max-cache-ttl 7200
debug-level advanced
log-file /var/log/gpg-agent.log
|
匯出金鑰
以 ssh 格式匯出
1
2
|
# ssh
$ gpg --export-ssh-key <short ID> > ~/.ssh/yubikey.pub
|
設定
將 GPG Agent 與 shell 一同啟動
由於我使用 oh-my-zsh,所以將以下的設定寫在 ~/.oh-my-zsh/lib/gpg.zsh
1
2
|
export SSH_AUTH_SOCK=~/.gnupg/S.gpg-agent.ssh
gpgconf --launch gpg-agent
|
設定完畢之後記得重啟 terminal
測試
這邊我以 github 進行測試
 1
 2
 3
 4
 5
 6
 7
 8
 9
10
11
|
# 插著 Yubikey,輸入之前設定的 PIN,如果沒有更改就是原廠預設
# 登入成功的資訊
$ ssh git@github.com
PTY allocation request failed on channel 0
Hi cody0704! You\'ve successfully authenticated, but GitHub does not provide shell access.
Connection to github.com closed.

# 拔起 Yubikey
# 操作被拒絕,無法驗證
$ git@github.com: Permission denied (publickey).
sign_and_send_pubkey: signing failed: agent refused operation
|
結論
覺得可以使用硬體安全金鑰進行登入有一種很高級的感覺
好處是之後只要設定好環境,就可以透過硬體安全金鑰登入,不必針工作環境的變換重新再產生金鑰、重新更新公鑰
Ref
- 利用Yubikey登入遠端SSH主機
- 如何在 Mac 上,把 YubiKey 與 GPG、SSH 搭配在一起
- Yubico - PIV-enabled YubiKeys
- Yubico - common modes